
Please read the Chatbot overview if you haven't already.
As mentioned in the previous article, Workflow is a graphical representation of the steps and actions the chatbot will take when your customer asks a question. It uses Nodes and Connections.
When you start working with Workflow, you'll understand what Nodes and Connections are in the upcoming sections.
Adding Workflow

Visit Admin Panel.
Scroll down to Chatbot section.
Click on Workflows.
Click the Add new workflow button in the top right corner. This will open a new Workflow, titled Untitled workflow, in the Workflow Builder.
Now, you'll see the new workflow's starting node, with the text "Your workflow starts here!" in the center of the screen.
Click on the Edit workflow button to modify the Workflow.
Select your desired Node from the Add new node button. Please read the article on Node types to understand what different Nodes do.
-
To connect the Starting Node to the newly added Node, click and drag from the small white circle, called the handle, on the right side of the Starting Node to the Handle on the left side of the newly added Node; this link between the Nodes is called a Connection.
Adding a new Node and making a Connection
Click the Save changes button on the top right corner of the screen to save the Workflow.
View/modify existing Workflow
Note: We don't recommend modifying the Active Workflow. It's advisable to alter a clone of the Workflow and set it as the Active Workflow once you've finished the modifications. Please refer to the later section on cloning to learn more.
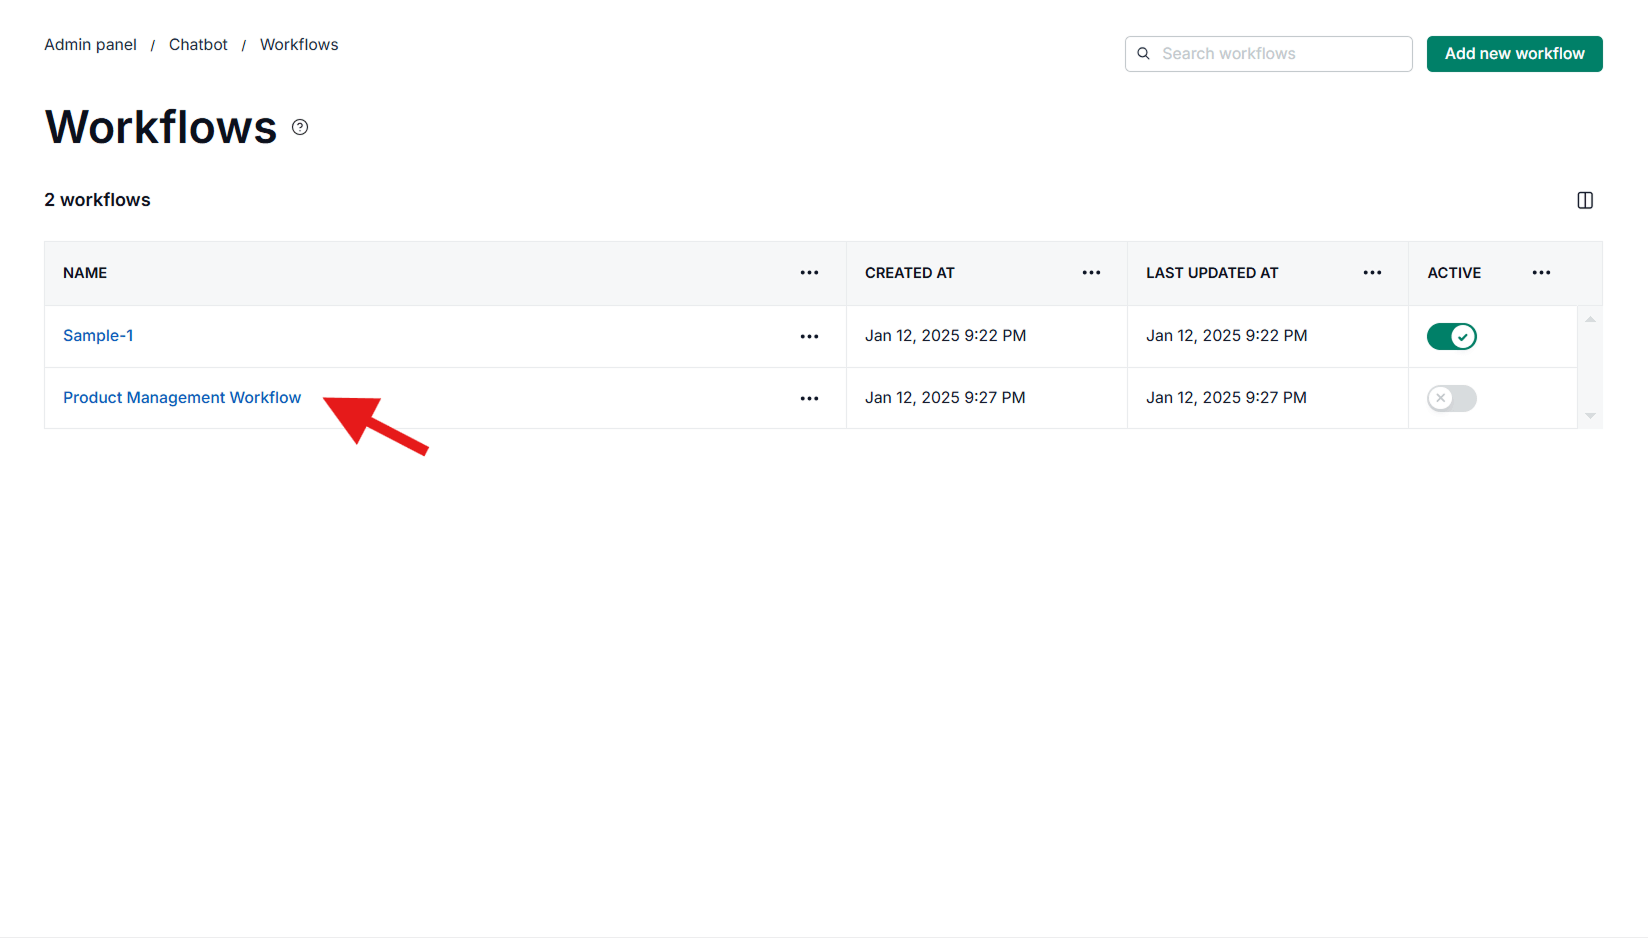
Once you've added a Workflow, Workflows page.
To view or modify a Workflow, click the name of the Workflow.This will open the Workflow in the Workflow Builder.
.png)
Click the Edit workflow button on the top right corner of Workflow Builder, next to the Save changes button.
Make your required changes and click the Save changes button to make the changes permanent.
Setting Active Workflow
Note: You need to enable the chatbot for it to handle customer support questions. Merely setting the Active Workflow won't allow the chatbot to reply to customer support queries. Please refer to the Chatbot overview to learn more about enabling the chatbot.
As mentioned in the Chatbot overview article, there's only one Active Workflow, which is the Workflow that will be used by the chatbot to make decisions when a customer asks a question. The rest of the Workflow is on standby.
You can set the Active Workflow from two different places.
From the Workflows page available at Admin Panel -> Chatbot settings -> Workflows.
From within the Workflow Builder of an open Workflow.
From the Workflows page: You can set the Active Workflow by selecting your desired Workflow from the dropdown left to the Save changes button and clicking the Save changes button to make the change permanent.
From Workflow Builder: Click the Set as active workflow button on the top right of the Workflow Builder, to the left of the Edit workflow button.
.png)
Rename/Clone/Delete Workflow
Open your desired Workflow in the Workflow Builder from the Settings -> Chatbot settings -> Workflows page.
Click on the horizontal three-dot button at the top left side of the screen, to the right of the Workflow's name. This will open a dropdown menu.
-
Click the appropriate button from the dropdown menu. If you need to rename, you can also do so by clicking the name of the open Workflow in the Workflow Builder.