
Before proceeding, please read the articles on Chatbot overview and Adding and managing workflows.
The Workflow Builder has 7 different Node types to program the chatbot.
Note: Every node has a specific purpose; therefore, most Nodes have a required field. To use a Node, fill out the required field before clicking the Save changes button in the top right corner.
-
User input: Adding this Node will send an optional message to the user first and then prompt the user for input. The data input will be associated with the Mapped Field selected from the Node's dropdown. Please refer to the Mapped fields article to learn how to add and use Mapped Fields in the Workflow.
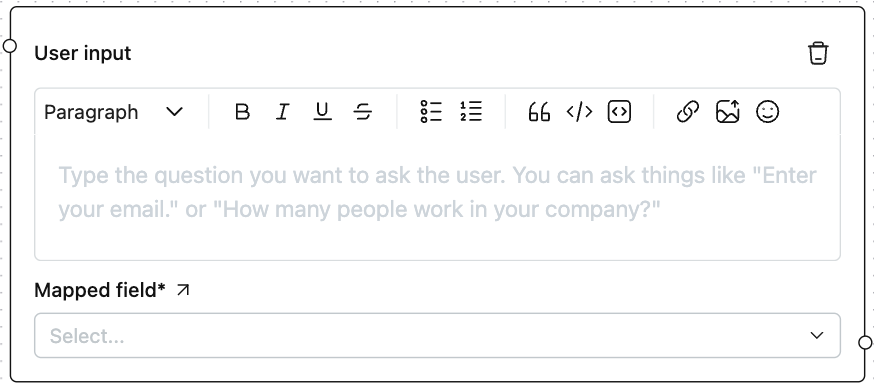
User input Required field: Mapped Field dropdown selection in the required field.
-
Message to visitor: This Node will send the entered message as the chatbot. The message can be formatted using the buttons on the Node's text editor.

Message to visitor Required field: The message is the only required field in the Node.
-
User selection: You can use this Node to give the user various choices and control the chat flow. For example, you may use this Node to ask users what issues they face. Say the user's not getting the OTP is a frequent issue. Then, you may use a Node like the one in the following image to handle such a case.
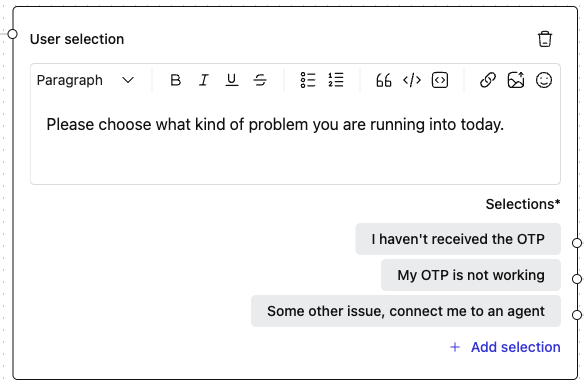
User selection Required field: Selections is the only required field. There must be at least one selection.
-
API: This Node lets you trigger an API call from the chatbot.
Select the API call you want to trigger from the dropdown on the Node. Please refer to the APIs article to learn how to use the added APIs in the Workflow.
The On success and On failure Handles on the Node let you redirect the chat flow based on the HTTP response.
On success: The branch extending from this Handle will be executed if the API response is successful. i.e., If the HTTP response status code is in the
200to299range.On failure: This will be executed when the API call fails, i.e., outside the above success status code range.

API Required field: API must be selected before you can save the changes.
-
Transfer to an agent: This Node will transfer the chat to the selected Team/Assignee. If both fields are left unselected, the chatbot will be unassigned from the chat, and a human agent needs to take over the chat manually from the Inbox.
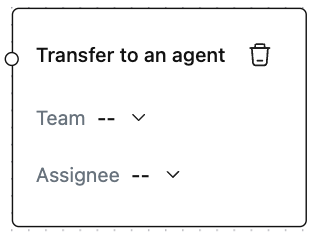
Transfer to an agent Required fields: None.
-
Close conversation: Reaching this Node will close the conversation on behalf of the chatbot.
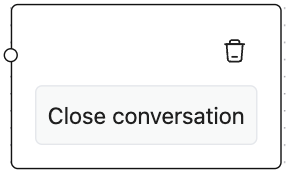
Close conversation Required fields: None.
-
Branch: You can use this Node to route the chat conditionally based on the data collected from the user using Node - User input.
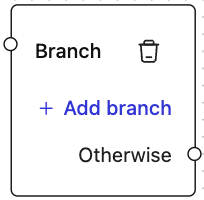
Branch Clicking on the Add branch button will open a side pane to enter the condition on which the branch connected to the condition Handle should be executed.
You may add multiple condition checks, but only the first satisfied condition will be executed. The Otherwise branch will be executed if no conditions are met.
Required field: None.