
One of the many abilities of the chatbot is to make API calls to external servers.
Let's say you need to resend an OTP to your customer. You can use the chatbot to make an API call to an external server by adding an API node to your Workflow.
To use an API in the Workflow, you first need to define various API parameters and add them to the list of APIs.
Adding API
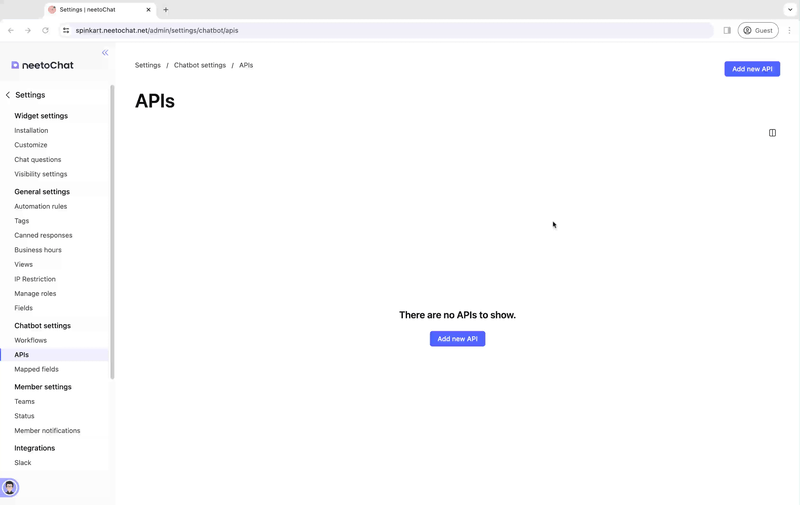
Navigate to Settings -> Chatbot settings -> APIs.
Click the Add new API button. This will open up a pane on the right side of the screen.
Fill in the details and click the Save changes button to make the changes permanent.
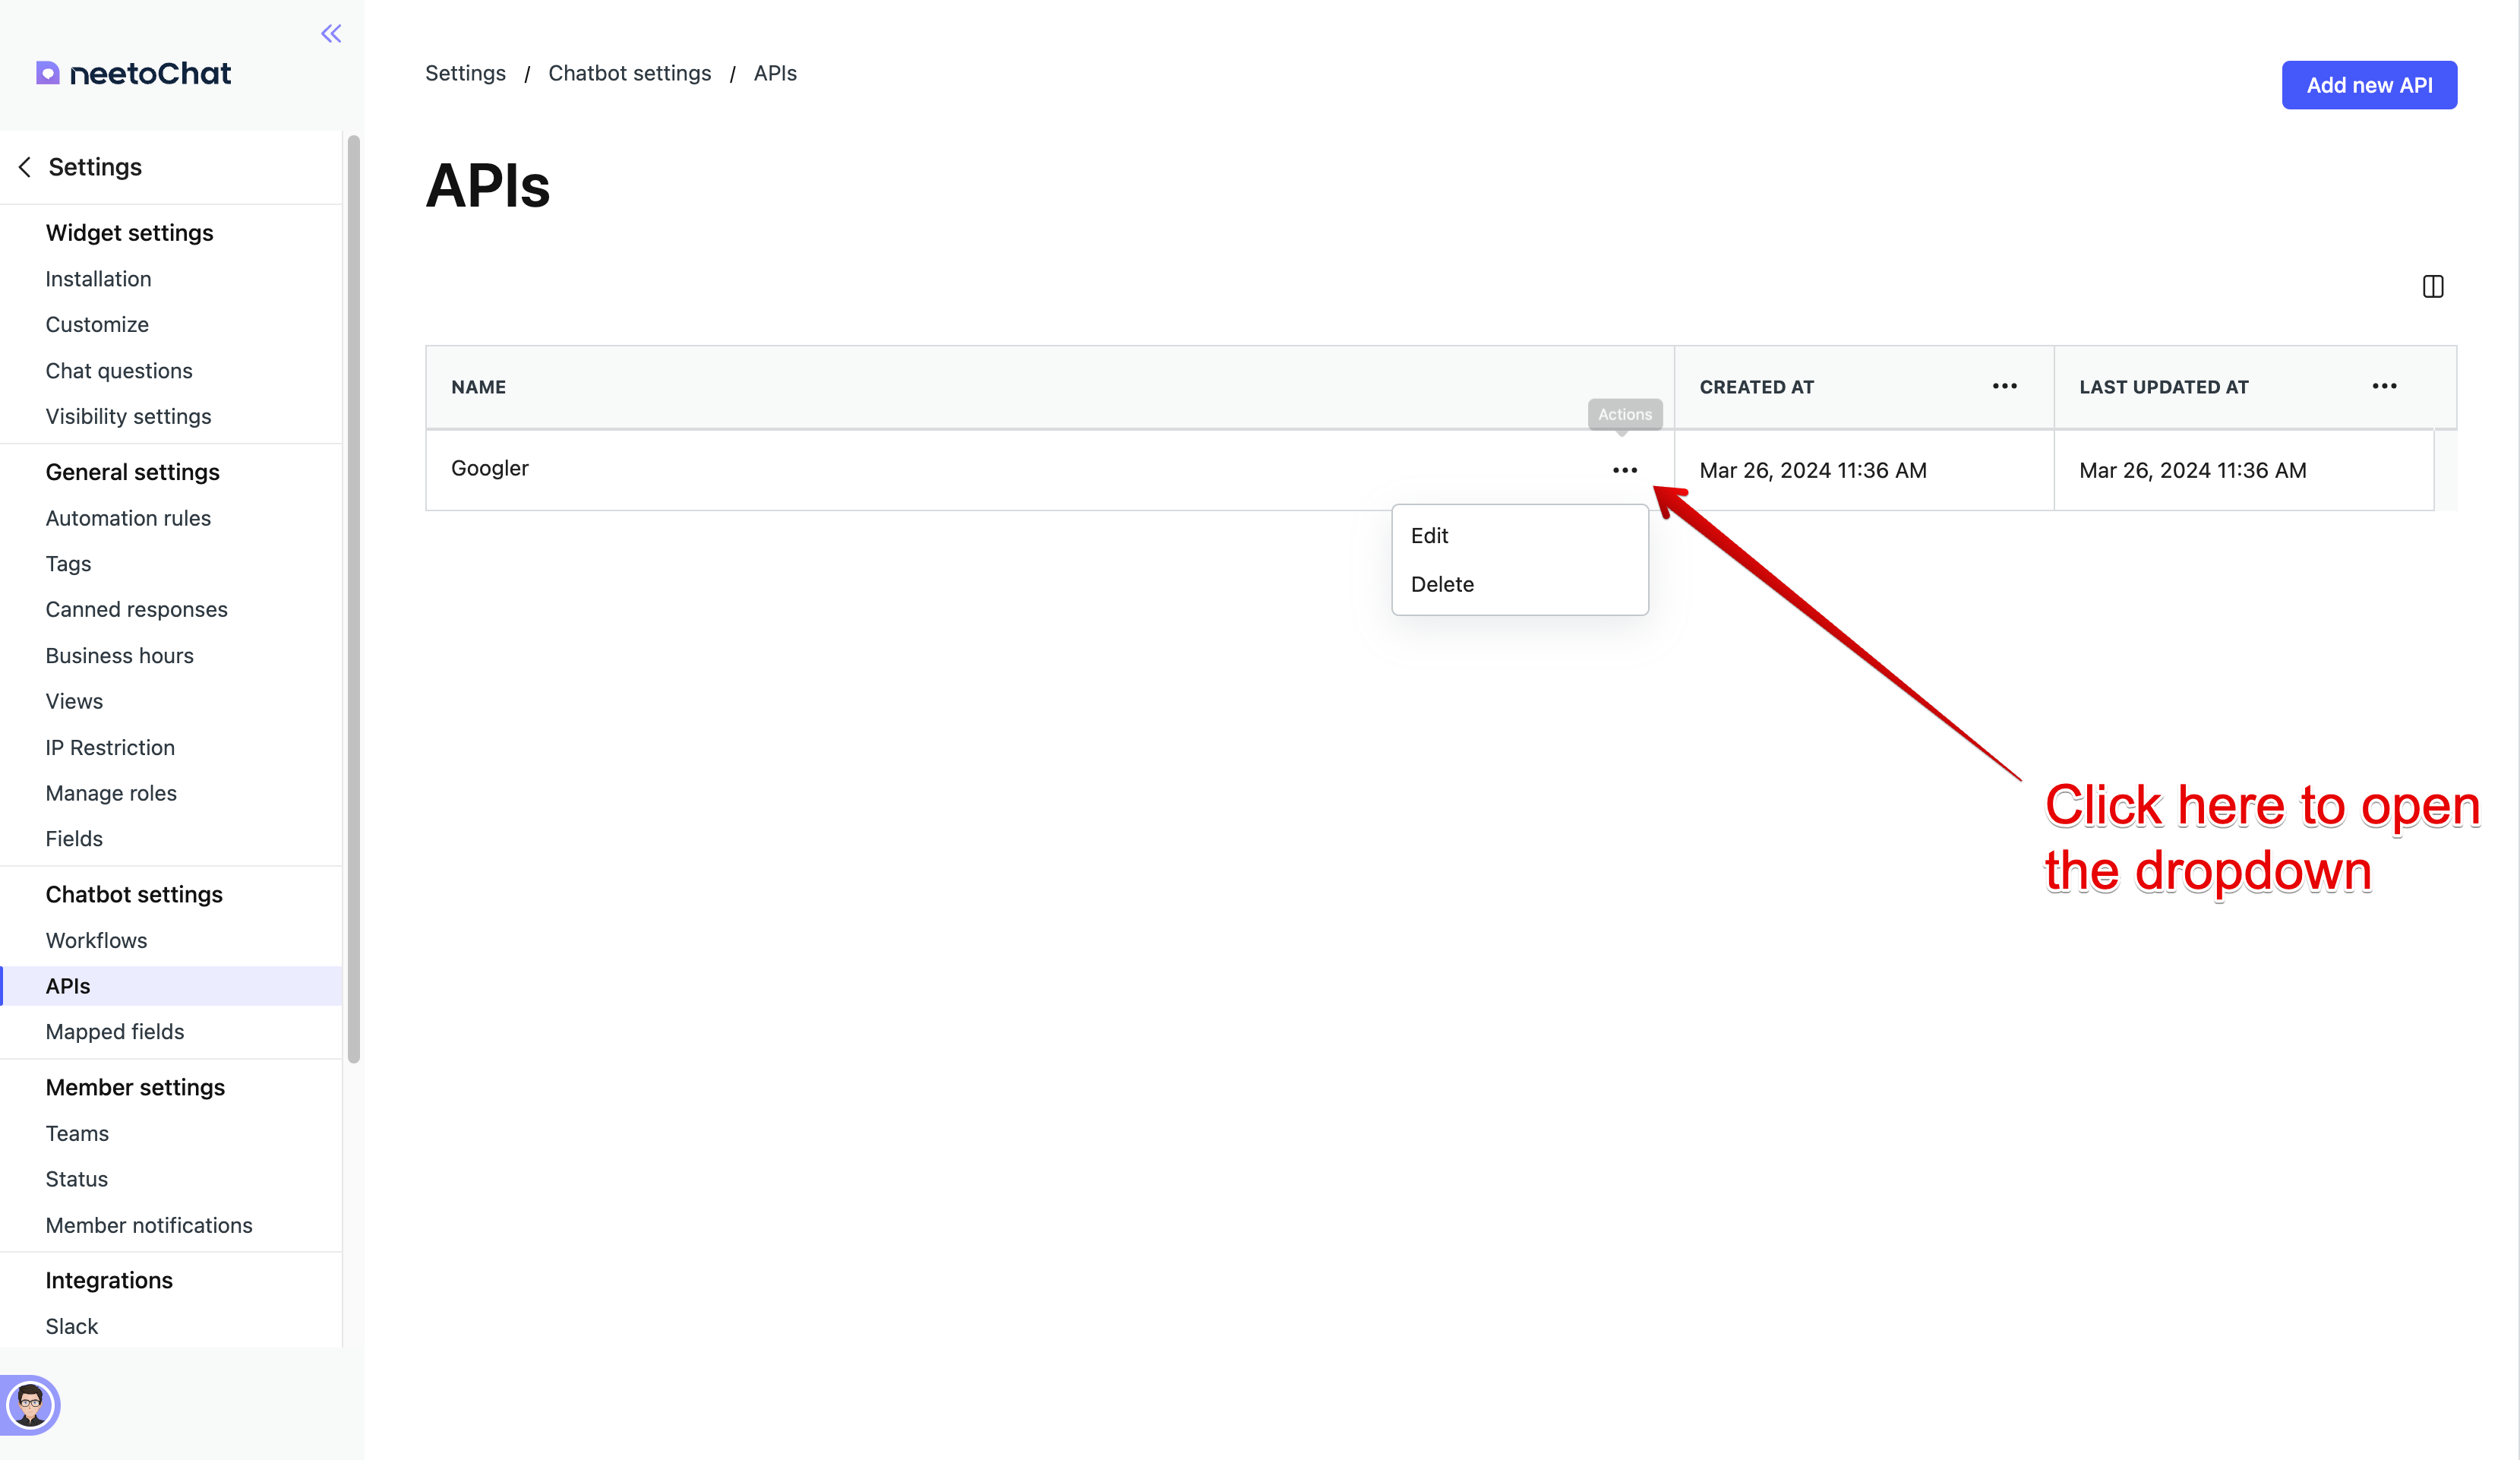
Update/Delete APIs
Navigate to Settings -> Chatbot settings -> APIs page.
Click on the three-dot button next to the name of the Workflow. This will open a dropdown menu.
Click the appropriate option from the dropdown to perform your desired operation.
Using user input values in API calls
Before you proceed, please go through the Mapped fields article if you haven't done so already.
As mentioned in the Mapped Fields article, values input by the user while chatting with the chatbot are mapped to one of the fields defined on the Mapped Fields page. These values can be used in the URL and the body of the HTTP request.
Navigate to Settings -> Chatbot settings -> APIs page.
Edit an existing API or click the Add new API button to open the side pane.
Click on the
{}button at the end of the URL or Body input fields, as needed. This will open a small section with all the Mapped Fields.Select your desired Mapped Field. This will insert a placeholder for the Mapped Field value at the text cursor position; it will look something like
{Field label}.
Before making the API call, the chatbot will replace the {Field label} placeholder with the user input value associated with the Mapped Field.
Using APIs in Workflow
Once you've created an API. Follow the steps to add it to your Workflow.
Navigate to Settings -> Chatbot settings -> Workflows page.
Open your desired Workflow in the Workflow Builder by clicking the Workflow name colored in blue.
Click the Edit workflow button on the top right, between the Set as active workflow button and the Save changes button.
Click the Add new node button on the top left side, right below the name of the Workflow. This will open a dropdown.
Click the API button to add the API node to your Workflow. This will add a new API node to the Workflow Builder.
Select your desired API from the dropdown on the API node.
-
Make the required Connections and click the Save changes button on the top right corner of the Workflow Builder to make the changes permanent.
.gif)
Using created APIs in the Workflow