
Automation rules in NeetoChat are indeed a powerful feature that empowers businesses to streamline their customer support operations and improve overall efficiency.
You can create automation rules that perform specific actions when certain conditions are met. For example, you can fine-tune proactive invitations so that they are more likely to increase website conversion rates.
Creating automation rules
Go to Admin Panel.
Inside General, Click on Automation Rules.
Click on the Add New Automation rule.
Apply On
You can apply the automation rule to the NeetoChat Widget and Conversation.
NeetoChat Widget
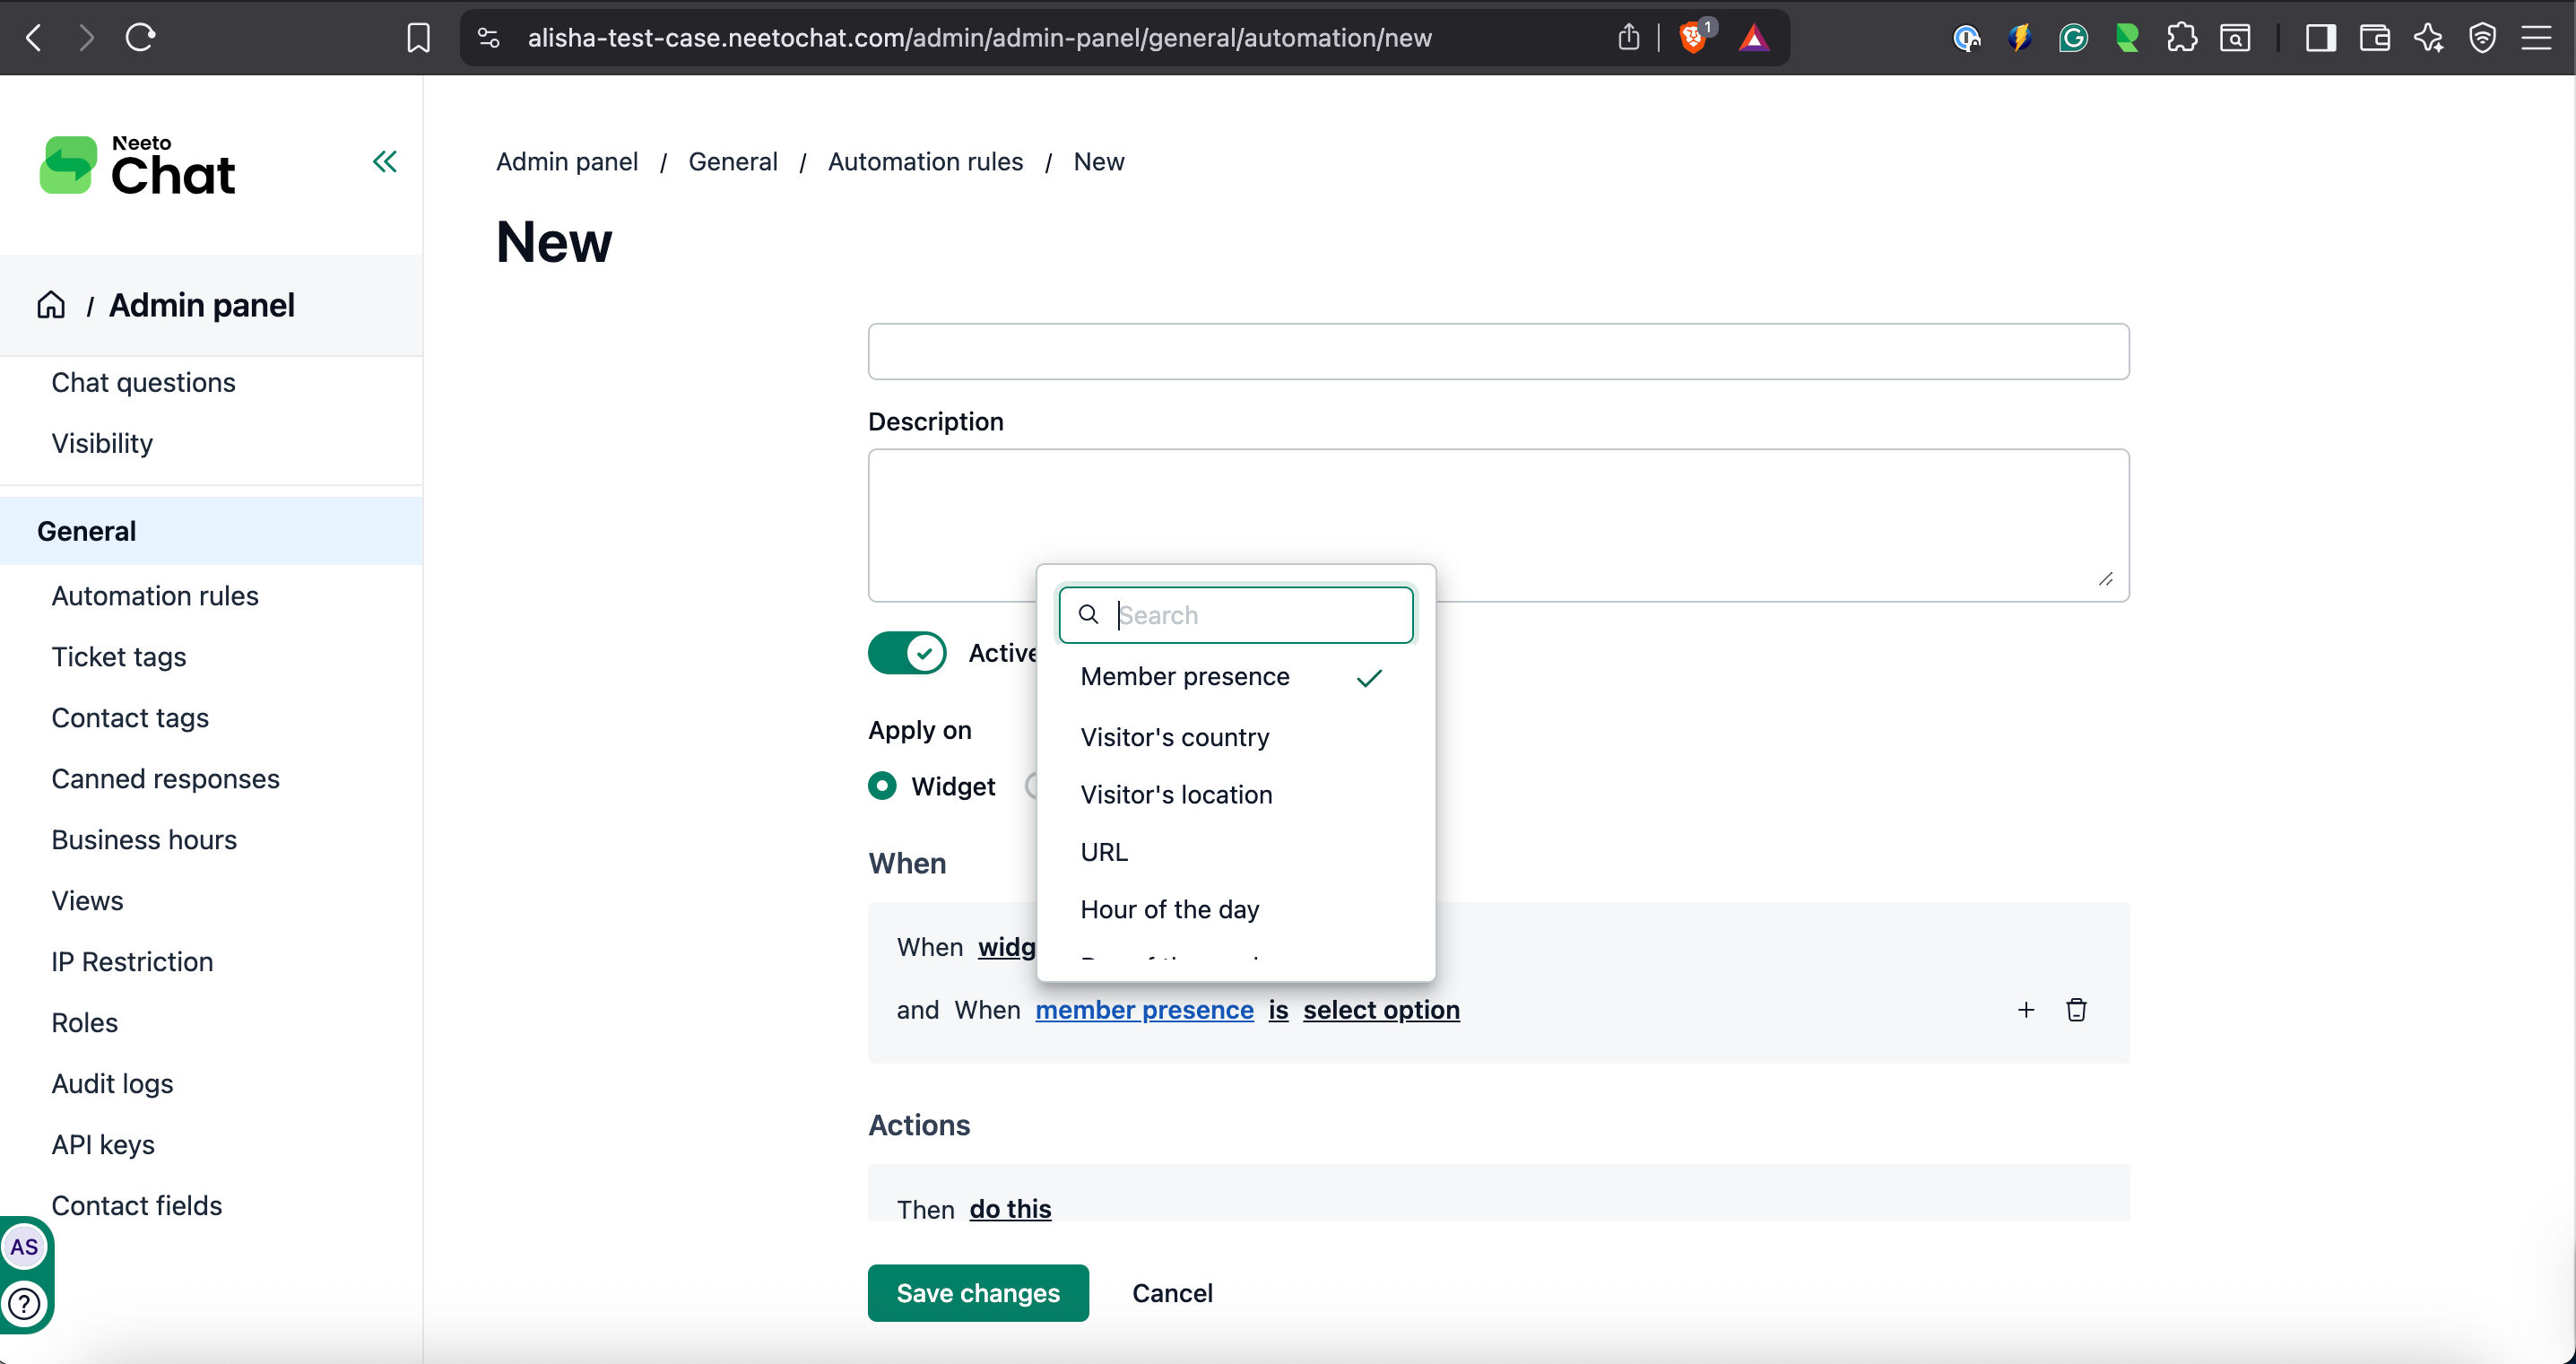
Conditions
NeetoChat Widget automation conditional values can be combined using AND/OR logic. The available conditions are described below
Agent presence: checks the online status of available agents.
Visitor's Country: checks the Visitor's Country.
Visitor's Location: checks the Visitor's Location.
URL of the current page: checks the Visitor's URL.
Title of the current page: checks the Title of the current page.
Hour of the day: checks the Hour of the day.
Day of the week: checks the Day of the week.
Time on page: Time spent by the visitor on page.
NeetoChat Widget Actions
The Action setting lets you define the action based on the automation rule conditions. Each rule can have only a single action.
Open the form to create a ticket on NeetoDesk
Minimize the widget
Maximize the widget
Display a system message in the chat (System messages will also appear in the minimized view. Like
Eye-catcher.)Display a message on behalf of the member in the chat (The agent message will appear in the conversation section.)
Conversation
Conditions
Conversation Automated conditional values can be combined using AND/OR logic. The available conditions are described below.
Status: checks the status of the conversation.
Started at URL: checks the URL of chat widget.
Member: checks the assigned agent of the conversation.
Conversation Actions
The Action setting allows you to define the action based on the automation rule conditions. Each rule can have only a single action.
Assign member: Assign the agent to the conversation.
Assign team: Assign the team to the conversation.